

Thinking of launching your website using WordPress on Hostinger? You’re making a smart choice! Hostinger offers fast hosting, a beginner-friendly dashboard, and a seamless WordPress installation process. Whether you’re starting a blog, portfolio, or eCommerce store, this guide will walk you through how to add a domain and install WordPress in Hostinger—step-by-step and stress-free.
What You’ll Need Before You Start
Before we dive in, make sure you have:
- A Hostinger account
- A registered domain name (either with Hostinger or another registrar)
- Internet access and a few minutes of your time
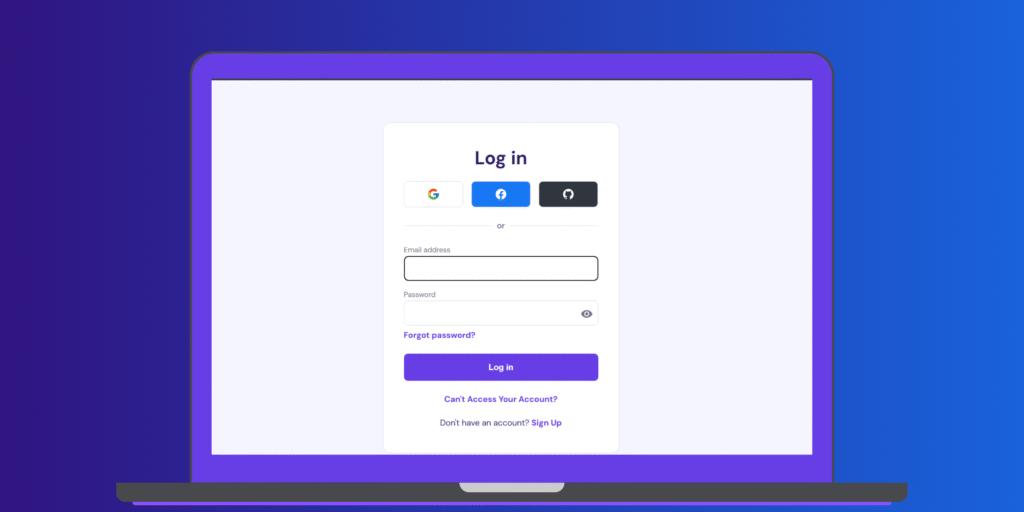
Step 1: Log Into Your Hostinger Dashboard
-
Go to Hostinger.com and log in.
-
Once you’re inside the hPanel (Hostinger’s custom dashboard), you’ll see all your active hosting plans and domains.
Step 2: Add Your Domain to Hostinger
If you already purchased the domain from Hostinger, it will be added automatically.
But if your domain is from another provider (like GoDaddy or Namecheap), follow these steps:
For External Domains:
In hPanel, go to Domains > Add Website.
Enter the domain name (e.g.,
yourdomain.com).Choose a password for FTP access.
Click Add Website.
Now you’ll need to point your domain to Hostinger by updating nameservers at your registrar:
Nameservers:
					ns1.dns-parking.com
ns2.dns-parking.com
Wait a few minutes to a few hours for DNS propagation.
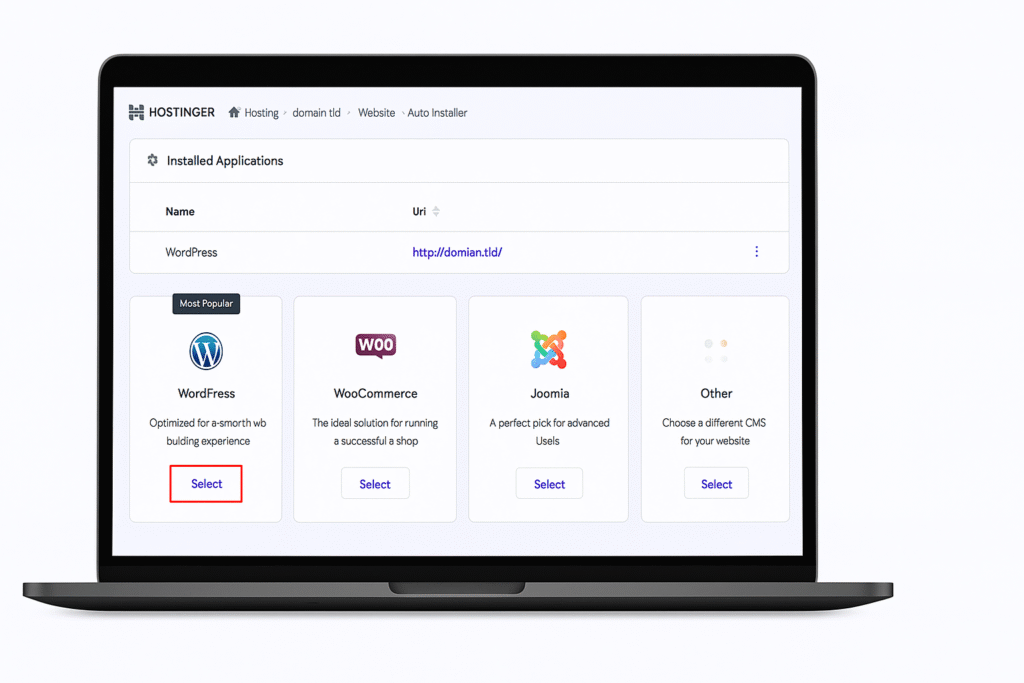
Step 3: Install WordPress in Hostinger
-
In the hPanel dashboard, click on Website > Auto Installer.
-
Choose WordPress from the list of CMS options.
-
Fill in the following details:
-
Website Title (e.g., “My Blog”)
-
Administrator Email
-
Username & Password for WordPress login
-
-
Choose the domain where you want WordPress installed.
-
Click Install and wait a minute or two.
🎉 That’s it! WordPress will be installed, and you’ll see your login URL:
https://yourdomain.com/wp-admin
Step 4: Customize Your WordPress Site
After installation:
-
Log into your WordPress Dashboard (
/wp-admin) -
Choose a theme under Appearance > Themes
-
Install plugins as needed (like Elementor, Yoast SEO, or WooCommerce)
💡 Pro Tip: Set Up Free SSL
Hostinger offers free SSL certificates. Activate it in:
hPanel > Hosting > Manage > SSL > Install
This will secure your website with HTTPS and improve trust and SEO.
Troubleshooting Common Issues
| Issue | Solution |
|---|---|
| Domain not showing WordPress | Wait for DNS propagation or clear your browser cache |
| Login page not opening | Double-check the correct URL: yourdomain.com/wp-admin |
| Forgot WordPress password | Use “Lost your password?” on the login page or reset via Hostinger hPanel |
Final Thoughts
Setting up WordPress on Hostinger is beginner-friendly, fast, and reliable. With just a few clicks, your website can go from idea to live on the web. Once your site is installed, the creative possibilities are endless—so go ahead and start building!
FAQs
Yes! Just point your domain’s nameservers to Hostinger.
WordPress is free, and Hostinger includes 1-click installation with all hosting plans.
DNS changes can take 5 minutes to 24 hours depending on your domain provider.